What is NFC Dasher Check-In?
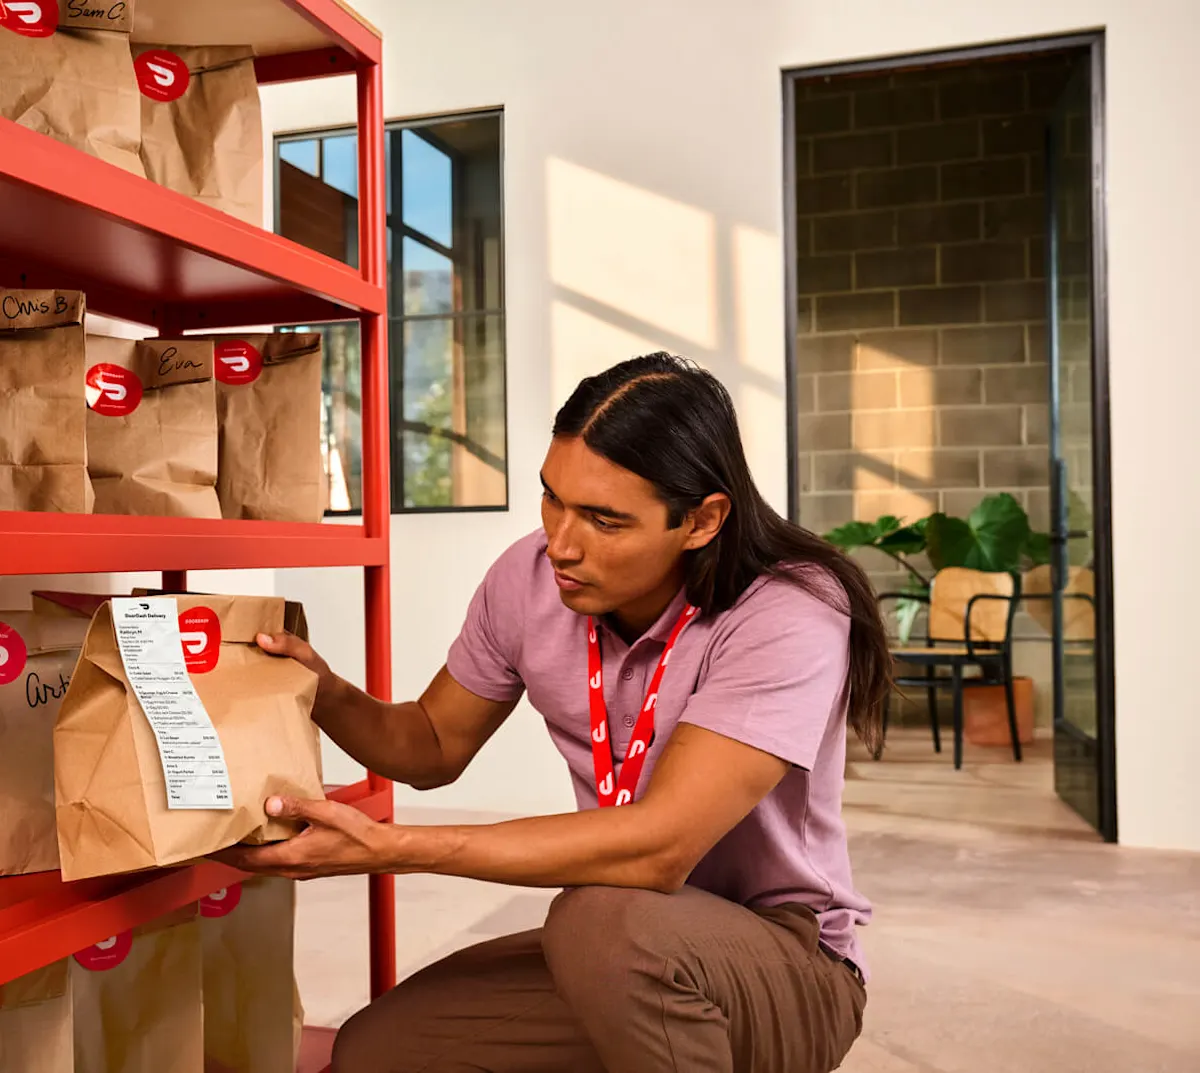
Dasher Check-In: Is a tap-to-confirm NFC tile a merchant sticks near their pickup area. When a Dasher arrives, they physically tap their phone to the tile to confirm they're in the store. It's a one-time "stick it and forget it" setup with no integration work and no changes to the merchant's POS/KDS or operations.
The result: less confusion about where to go, smoother pickups, and better delivery timing for your customers.
How to Set Up Dasher Check-In?
Dasher Check-In Merchant Setup Guide
Takes less than 10 minutes: Choose Location -> Register Tiles -> Hang Tiles -> Activate
Summary: Now that you’ve received your package, the following guide provides step by step instructions for activating and setting up your Check-In tiles so that you can start speeding up Dasher pickups.
Choose where to place tiles (Do Not Place Them Yet, do not place on Metal)
Tile 1: Lobby
Ideally, the tile goes near the pickup area, on the wall or counter.
Make sure it is visible and easy for Dashers to reach, even when busy.
Tile 2: Spare
Keep as a backup if Tile 1 is lost or place to reduce congestion
Tile 3 & 4: Drive-Thru, if applicable
Place one on the outside wall next to the drive-thru window, not on the window frame.
Keep the last tile by the window for Dashers who can’t reach the installed one.


2. Register Tiles
Scan the QR code in your setup instuctions, or click this link
then log in to your Merchant Portal → Click “Set Up”
Also found at: Performance/Insights → Operations Quality → In-Store Check In
Make sure to add all the tiles you received.
Place tiles before activating. Dashers will begin checking in immediately after activation. To activate, hit “Turn on” once all the tiles are added and placed.


If you cannot access your Merchant Portal or are having issues, use the QR Code on the provided instructions.
Fill out the Google Form with all the tile information.
Using the Google from, Dasher Check-In will begin within 4 days; using the Merchant Portal allows you to instantly activate or pause.
3. Install the Tiles and Posters
Place every tile in its chosen spot, including the drive-thru if you have one.
Stick each tile to a clean, dry, non-metal surface. Press firmly for several seconds.
Once attached, the adhesive cannot be reused.
Where available, place a poster above each tile to help direct Dashers.

4. Key details for staff to know
Dasher experience: in the app, Dashers tap Check In, hold their phone to the tile for about 3 seconds, then continue with pickup. If one has trouble, ask them to try again or contact DoorDash support.
Make sure all staff know:
Where every Check-In tile is located
How Dashers check in
Drive-thru: where the spare tile is kept, if a Dasher cannot reach the window tile
How to Pause Dasher Check-In?
Easiest: Log into your portal here, hit pause
Performance/Insights → Operations Quality → In-Store Check-In